Before we discuss how to build a fire, it is prudent to check with local officials to see if there are any fire restrictions in your area for outdoor fires. Many parts of the country will impose seasonal burning bans because of dry weather conditions. So be sure to inquire with local authorities regarding burning bans.
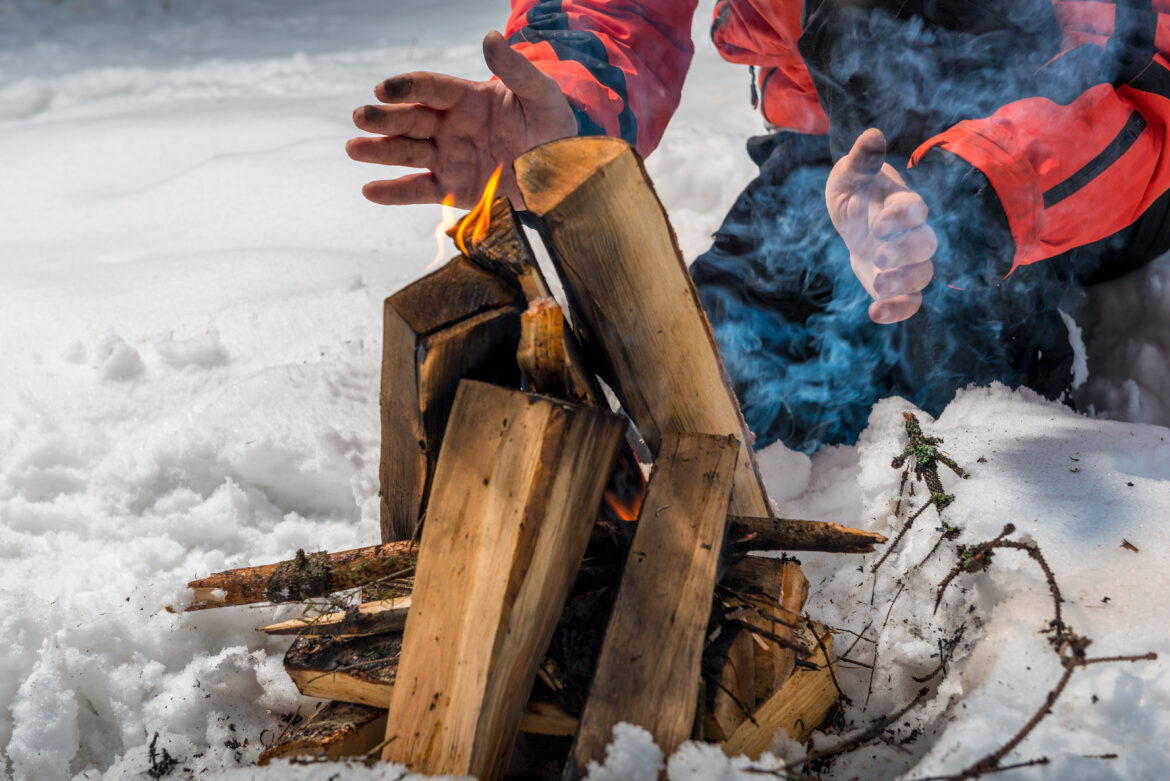
With that being said, just what is it about building a fire? Whether you’re in the middle of nowhere, relaxing by your firepit in the backyard, or getting ready for a cozy evening as the snow gently falls, mastering the art of fire building can soothe the soul and connect you with traditions from the past. Who doesn’t enjoy an amazing, mesmerizing fire?
Building a fire is not always easy. Have you ever tried to get one going in windy or damp conditions or when wood is in short supply? That’s precisely when knowing different fire building techniques is very useful. Survival experts and outdoor enthusiasts have developed several reliable fire building methods for stacking wood to maximize air flow, heat concentration, and burn times. If you’re wondering how to start a fire in challenging conditions, the methods below are designed to help you succeed. Five of the most popular and trusted fire building methods are:
- The cabin method
- The tepee technique
- The upside-down pyramid
- The lean-to method
- The simple star-fire
Each of these ways of building a fire has its its advantages. Some are better suited for specific weather conditions or purposes like cooking, warmth or longer-lasting coals.
This guide will help you with a step-by-step process for each of these fire building techniques and explain when and why to use them. Whether it’s in the fireplace or stove, at your favorite campground, or in the backyard.
STEP ONE: GATHER MATERIALS
Regardless of the method used, note that there are three basic elements to every good fire, often referred to as the fire triangle.
- Fuel: the wood itself, including tinder, small twigs, larger sticks and actual logs.
- Heat: some way to ignite the fuel, such as a spark, a match, or a lighter.
- Oxygen: the air moving through the fuel that will feed the flames.
When you’re gathering fuel, you’ll want to collect:
- Tinder: fine and easily flammable material such as dry grass, a wad of paper, pine needles or perhaps an old paper towel or two. Candle wax and dryer lint also work well. There are commercial fire starters available that are compact and work great. If you want to make your own, try cotton balls dipped in petroleum jelly. My ‘go-to’ for the backyard firepit is to empty our paper shredder!
- Kindling: consists of small sticks, about pencil size in diameter, or split wood that will catch fire from the tinder. I like to (VERY carefully) slice ¾” – 1 ½” pieces of kindling from scraps of 2×4’s with a hatchet.
- Logs: larger pieces of wood to keep the fire going once it’s been established. Remember, the most important element of good firewood is dryness. The drier the better.
Dry wood is easier to ignite and burns with less smoke. Hardwood is denser and will burn longer. But the species isn’t as important as the wood being dry. Damp wood will smoke heavily.
It’s always a good idea to gather more tinder and kindling than you think you’ll need. It may take a few attempts to get the fire going. Just make sure it’s as dry as possible.
THE CABIN METHOD
We’ll start with my personal favorite: the cabin method. Simply put, picture building a tiny log cabin out of sticks and you’ll have the idea. I think the cabin fire is the most reliable type of structure for long-lasting flames, a controlled burn and for quickly establishing a bed of coals.
How to Build It
- Place a bundle of tinder and the smallest kindling pieces in the center.
- Lay two pieces of medium-sized kindling parallel to each other on either side of the tinder.
- Stack two more pieces perpendicular on top, forming a square.
- Continue stacking layers in alternating directions to create a “cabin” shape.
Why It Works
- This type of open cabin shape allows easy airflow through the fuel.
- Flames rise through the stacked walls, creating a steady and even burn.
- Once the fire is established, larger logs are easily added on the top ‘side-walls’ for longer burn times.
Best For
- Cooking, since the stable platform creates good coals.
- Success for beginners because it’s relatively easy to build and light.
THE TEPEE TECHNIQUE
The tepee fire is the most recognizable and popular way to build a fire. Adapted from Native American tribes who advocated the method, the tepee technique remains one of the most efficient ways to start a strong flame quickly.
How to Build It
- Place a generous pile of tinder on the ground.
- Lean sticks of kindling, starting with the smallest, around the tinder in a cone shape. The air is allowed to easily flow through the kindling.
- Light the tinder at the base. Flames will rise and ignite the surrounding wood.
- Continue adding larger kindling sticks and small logs around the structure, forming a tepee.
Why It Works
- The tepee channels heat upward into the wood and creates a fast, hot flame.
- As the fire progresses and the structure collapses inward, it feeds itself with more fuel.
Best For
- Quick warmth in cold conditions.
- Emergency situations, if you need a lot of flame to signal for help.
- And of course, telling stories around a campfire because it has that classic outdoor fire shape.
THE UPSIDE-DOWN PYRAMID
Some call this the “self-feeding fire”. This is an interesting way to build a fire because this method is the opposite of what your instincts tell you. Instead of lighting from the bottom, you’ll ignite this fire from the top as the flames gradually burn downward.
@welovefire Want a campfire that burns longer and cleaner? Try the Upside Down Pyramid technique! See all 5 fire-building methods in our latest blog. #wlf #howto #fire #outdoorfirepit ♬ Little Things – Adrián Berenguer
How to Build It
- Lay two or more large logs, side by side on the ground.
- Place three or four smaller logs crosswise on top of these.
- Continue stacking in crisscross fashion, each layer slightly smaller, forming a crude wooden pyramid.
- Add kindling and tinder at the very top.
- Light the fire from the top and be entertained as the flames burn from the top, down.
Why It Works
- The fire actually feeds itself layer by layer resulting in a slow, controlled burn.
- It produces long-lasting coals that work well for long burn times, overnight or for cooking.
- Because you don’t need to constantly refuel the fire, this is an excellent choice for a low-maintenance blaze.
Best For
- All-night fires because less tending is necessary.
- Cooking with even heat distribution.
- Since the base logs protect the tinder from moisture, this technique is the best for damp or even snowy ground.
THE LEAN-TO METHOD
If you’ve ever camped in windy conditions, you’ve probably been frustrated trying to start or maintain a fire. The lean-to fire method is one of the simplest and best ways to build a fire in windy or wet conditions. It uses one large log which acts as a windbreak, with smaller sticks of fuel leaned against it to shield the tinder.
@welovefire Adapt to the elements. The lean-to method uses a sturdy log as a windbreak and angled sticks to channel your flame upward — perfect for windy nights. 🔥 Want step-by-step tips? Check out our latest blog: How to Build a Fire — 5 Proven Methods That Work. #WeLoveFire #campfire #outdoorliving #firebuilding ♬ original sound – We Love Fire
How to Build It
- Place a large log flat on the ground. This acts as a back wall and windbreak.
- Put tinder alongside the log, protected from the wind.
- Lean small sticks of kindling at an angle against the log that form a slanted roof of sorts.
- Light the tinder under this lean-to. The flames rise and ignite the angled sticks.
Why It Works
- The large ‘windbreak’ log shields the fire from wind, making it easier to light in difficult weather.
- The angled sticks catch flame quickly and funnel heat upward.
Best For
- Windy conditions where other fires struggle.
- Quick cooking fires when you just need to boil water or quickly heat up dinner.
- Damp environments, since you can split wood and place the dry side inward toward the tinder and kindling.
THE SIMPLE STAR-FIRE
The star fire lay is a minimalist approach often used by survivalists and backpackers. Instead of stacking logs, you arrange them in a star shape with their ends meeting at a center flame.
How to Build It
- Place tinder and kindling in the center of your fire site.
- Arrange 5, 6 or 7 logs in a star shape with one end of each log connecting to and pointing toward the tinder.
- Light the tinder and push the logs inward as they burn.
Why It Works
- If wood supplies are low, this method conserves wood by only burning the ends of the logs.
- Easy to control by simply pulling logs back to reduce heat or pushing them into the fire to increase it.
- Minimal effort is required to maintain.
Best For
- Long-term cooking by sliding logs in and out as needed.
- Survival situations with a limited wood supply.
- Small groups where you don’t need an impressive, roaring fire.
SELECT THE RIGHT METHOD FOR YOU
Let’s make a quick recap of the different situations that often call for different fire building techniques:
- Cabin method: best for controlled, reliable fires and cooking.
- Tepee technique: best for quick flames, warmth, or signaling.
- Upside-down pyramid: best for overnight or long-lasting fires.
- Lean-to method: best for windy, wet, or difficult conditions.
- Simple star fire: best for conserving wood and easy maintenance.
If you’re wondering about the best way to build a fire, the choice really comes down to your goals — quick heat, long lasting coals, or cooking efficiency.
FIRE SAFETY TIPS
We would be remiss if we did not mention fire safety in this article. We’re all aware that fire is powerful, beautiful, and useful. But it demands our respect. Never skimp or cut corners when it comes to fire safety. Always follow these safety guidelines:
- Always use the fire ring or fire pit provided in campsites to contain embers, sparks and flames.
- If not in a designated area, thoroughly clear the fire spot by removing all leaves, brush and flammable materials from around your fire.
- Keep water close by; just in case.
- Never leave a fire unattended, even in calm conditions. They can spread before you know it.
- To ensure the fire is completely out, douse it with water, stir up the ashes and douse it again. Repeat as necessary to completely extinguish all coals and embers.
- Keep a charged fire extinguisher nearby the fireplace or stove in the family room of your home.
BRINGING YOUR FIRE-BUILDING SKILLS TO LIFE
Knowing how to build a fire isn’t just a skill; many consider it an art form. From the cabin’s steady glow to the tepee’s iconic flame, each method has its place in outdoor life. By experimenting with each style, not only will you sharpen your fire-building skills, but you’ll also deepen your connection to one of humanity’s oldest and most essential traditions.


2 Responses