Or how to make it as good as the championship circuit
This is our second article in the series “How to Cook Low n Slow”. If you’ve not read it yet, I would suggest you scoot over to this link (What is Low n Slow cooking). Besides the fact it should have received a Pulitzer prize, this immensely gratifying article explains why meat taste so delicious when cooked Low n Slow.
But if you are lazy like me, you want the short version: Meat cooked Low n Slow tastes better and stays moister. That was short n sweet, wasn’t it? Now, scoot over the article before I tell your momma.
Now we need to answer the question: Why are ribs so difficult to cook? Well, as the aforementioned article points out (you did read it, right?) Pork ribs have a fair amount of connective tissue such as tendons and a chewy rubber-band like membrane called ‘silver skin’. Meaning, it’s a tough cut of meat. Initially, nobody wanted that stuff and only poor and enslaved people in North America would cook it. Until… a few people figured out how to make it taste spectacular and the rest is history.
The ‘Fall of the Bones” myth
You have likely overheard someone exclaim — “Oh my Gaaawd! Best ribs evaaah! They are ‘fall off the bones’”. Typically heard in a large restaurant chain who does not specialize in southern food. If that is your idea of the best ribs ever, here is the recipe.
1) Parboil the heck out of the ribs until all the flavor is left behind in the water and the meat looks like grey lungs with a 3 pack a day habit and the worst case of emphysema.
2) Smother them in sickly-sweet Red Dye #40 commercial BBQ sauce to give them back some flavor and color.
3) Throw them on a gas grill for a few minutes to ‘firm them up’ and fool the customer with those grill marks.
We obviously cannot let this state of affair persist otherwise the terrorists win.
If you believe ‘Falling off the bones’ is the ultimate goal of what ribs should be like, by all means — parboil away. But… If you value flavor, texture, and other food subtleties; and I think you do since you are reading this article (and the previous one, right?), please read on.
This is the way to do it…
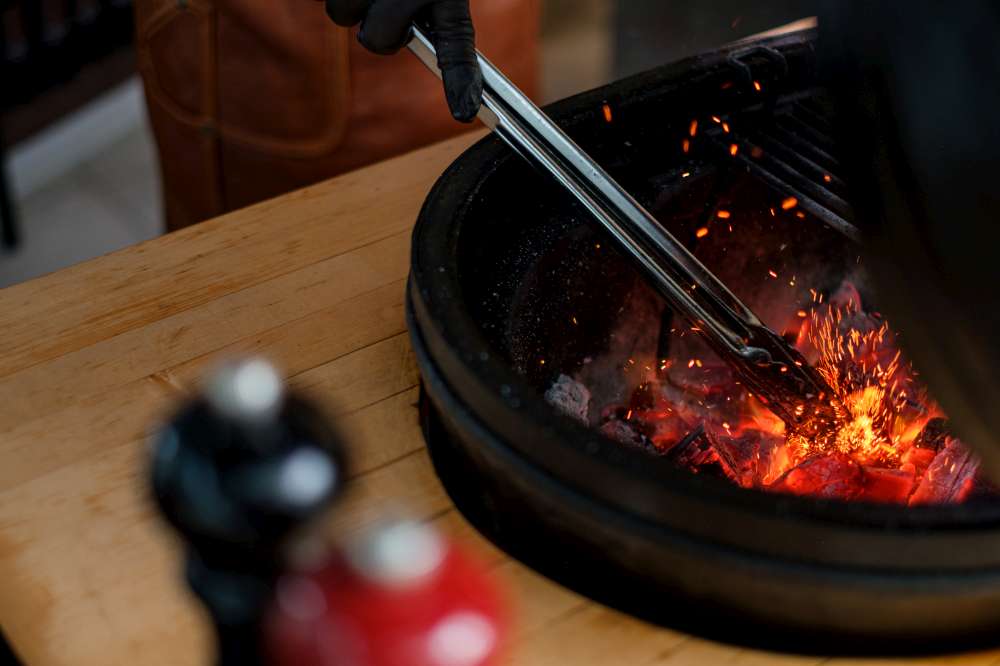
You should preferably cook your ribs in a smoker, kamado style BBQ or any wood charcoal burning BBQ where you can easily control the amount of air to regulate the temperature. You can also bake your ribs in a similar fashion in an oven, but the BBQ method will yield the best results.
Before we move on to rubs, sauces, wood smoke etc you may want to experiment first with cooking time and temperatures. Since each BBQ has its own peculiarity, I can’t truly recommend an ‘ideal’ temperature and amount of time. Here is an approach that may work for you:
1) Take a rack of ribs and split it in 3 bones each. Leave the skin on.
2) Make sure your coals are well lit and are grey/white (otherwise the smoke from unevenly lit coals can be harsh)
3) Place enough coals in your BBQ to sustain a low even heat for many hours. But not so much that you have a temperature runaway and cannot control it.
4) Leave your ribs naked (Do not spice, rub, baste, wood smoke or sauce). The goal here is to determine the best temperature and time needed to generate the perfect ribs. Try to get to as close from 150F to 180F as possible and keep it there. If your BBQ comes with it, make sure your ribs are not directly over the heat source by placing an “offset plate” or other devices, to avoid your ribs cooking too fast.
5) Place 1 set of 3 bones on the grill. Wait a couple of hours and place another set and so on and so forth. If you have enough ribs, you can add another set every hour. Until the 1st set has been there about 8 to 12 hours. Yes, I know, it’s a long time, but this will help determine what works best for you and your BBQ. Also, resist the urge to open the lid to ‘check on them’ as this cools down internal temps inside your BBQ.
By now, you hopefully put them in a pattern so you can tell which is which (hint: use the hour clock method. 1st set goes on at ‘noon’ location and so forth) and plate it the same way.
The moment of truth has finally arrived. Invite your friends and family to help you judge which they think is better. Resist the urge at this point to add spices or sauces. You are testing for flavor, texture and ‘chewiness’.
Start with the ‘youngest’ on the grill and work your way down to the ‘oldest’.
What are the results?
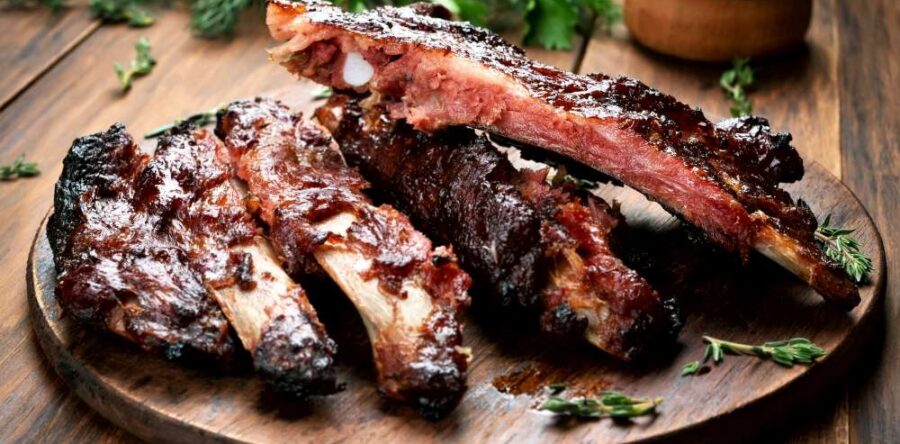
You may have noticed the meat has turned pink. This is called the ‘Smoke Ring’. Don’t be alarmed, this is a badge of honor from a chemical reaction between smoke and cooking Low n Slow. If you see it, pat yourself on the back. Job well done.
Low n Slow ribs are not ‘Fall of the bones’ as parboiled ribs are. They will come apart with a little pull. They will also have a bit of a ‘chewiness’ to them.
You will also notice the ones that have been on the BBQ longest seem to have a jelly like substance where the connective tissues (tendons) used to be. If so, another pat on the back. This process only happens when cooked for a long time. Eventually, connective tissues will dissolve into gelatin.
Questions:
Should I remove the membrane?
It’s entirely up to you. Some claim that leaving the white membrane on the underside help retain moisture. I highly doubt that, but if it makes you feel better, sure. Some think that removing the membrane provides a better ‘mouth feel’. But if you cook the ribs long enough you will not notice the skin. Your preference.
The best way to remove the membrane.
Take a sharp knife point and slide it between the bone and the membrane until you have enough loosened to pull on it. Take a paper towel for better grip and start pulling gently on the membrane until most of it comes off.
What about foiling?
Yeah, about that…. They don’t foil in the deep south. You will see suggestions on the internet where many recommend techniques and ratio for foiling like, 1-3-1 and others. If you foil your ribs, you are basically steaming them, and we’re back to the parboil method. Try feeding that to championship ribs judges and they’ll empty their meat spittoon on top of your head!
Next article will discuss the fine points of sauces, rubs, wood etc…
See you then and remember… Be the Pit-Master you always knew you could be!
Ps, Do you need a smoker, BBQ or other gear or expert advice to become your neighborhood’s pit-master? Your friendly local WE LOVE FIRE Dealer is here to help you


0 Responses